
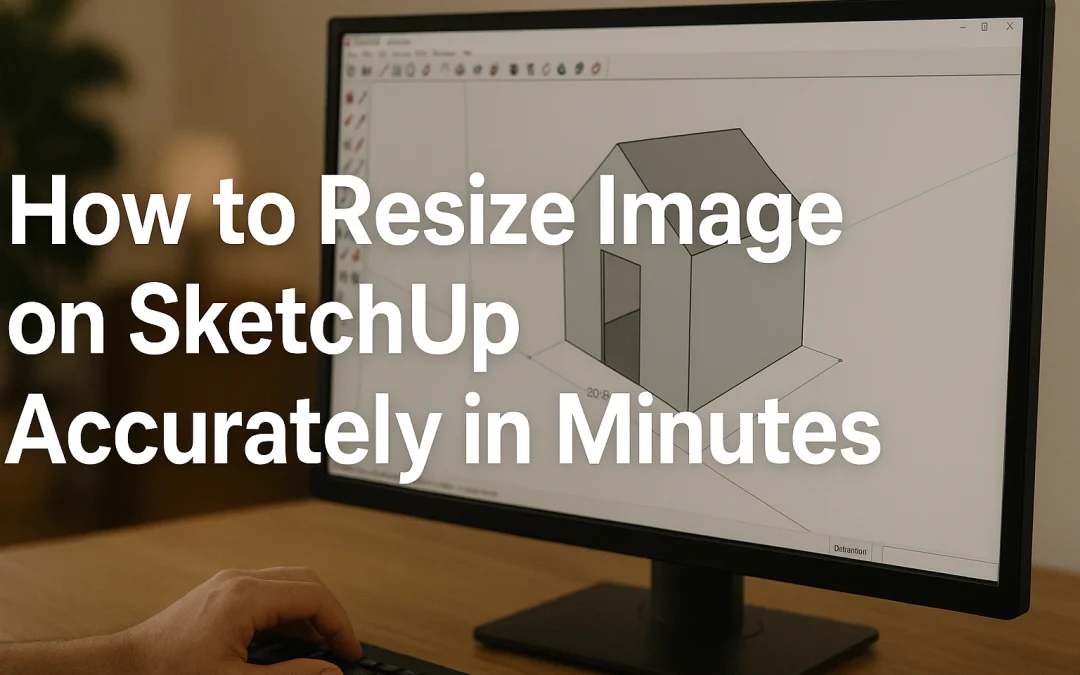
If you’ve ever imported a floor plan, photo, or reference drawing into SketchUp, you’ve probably faced the challenge of resizing it to match real-world proportions. It’s a common problem that confuses both beginners and intermediate users. Images can appear too small, too large, or completely out of proportion with your model. Without proper resizing, your project loses accuracy and becomes frustrating to work on.
This guide will walk you through how to resize image on SketchUp step by step. We’ll cover the basic tools, advanced techniques, and professional tricks that architects, designers, and hobbyists use to scale images precisely. By the end, you’ll not only understand how to resize an image in SketchUp, but you’ll also know when to use the Scale Tool, when to rely on the Tape Measure Tool, and how to fix common issues like distortion or locked scaling. Whether you’re using the desktop, Pro, or Free web version, this guide has you covered.
1. What Does Resizing Images in SketchUp Mean?
When people ask how to resize image on SketchUp, they usually mean two slightly different things: resizing and scaling. At first glance, they sound the same, but SketchUp makes an important distinction.
-
Resizing typically means adjusting the image’s on-screen size. You might want it larger for visibility or smaller to fit within your workspace.
-
Scaling, on the other hand, means making the image reflect real-world measurements. For example, resizing a floor plan so that one drawn meter in the image equals one actual meter inside SketchUp.
Understanding this difference matters because the tool you use depends on your goal. If you simply want to shrink or enlarge the image without worrying about proportions, the Scale Tool is enough. If you need the image to match true dimensions, the Tape Measure Tool or a calibration method is the better choice.
1.1 Image vs Texture Imports
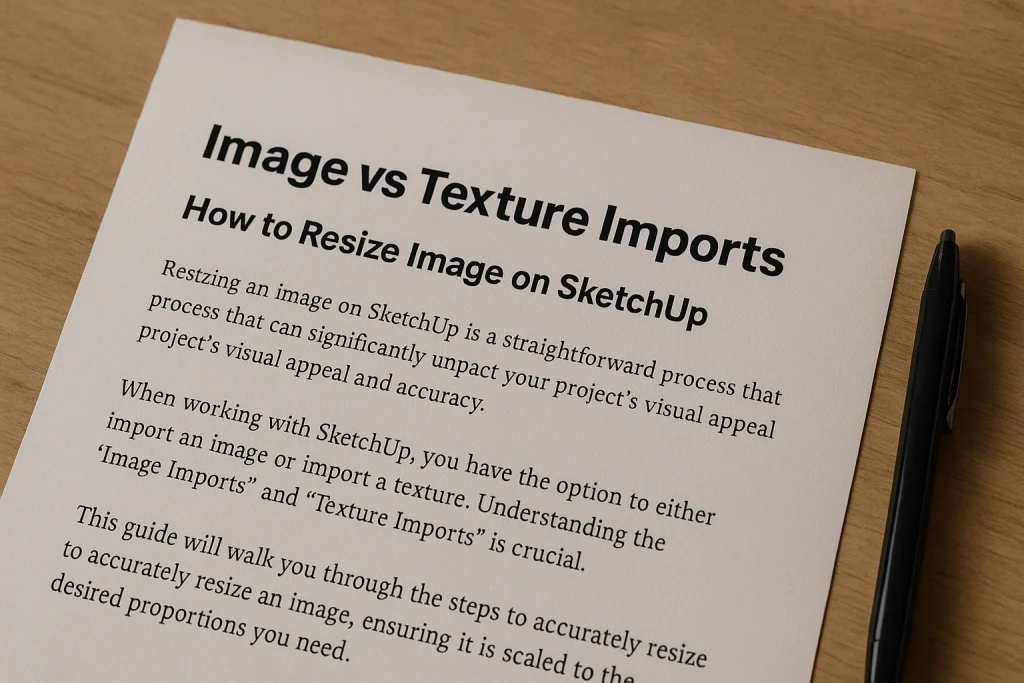
When importing an image, SketchUp gives you two main options: Image or Texture.
-
As Image: This keeps the file independent. You can move it, resize it, and work with it freely. Most of the resizing techniques in this guide assume you imported as an image.
-
As Texture: This applies the image to a face or surface, treating it like wallpaper. Scaling a texture involves resizing the face or adjusting the material properties, which can be trickier.
For most projects, especially floor plans and reference photos, choose Import as Image. It makes resizing much simpler and avoids distortions later.
1.2 When to Resize vs When to Scale
Ask yourself: Do I need this image just for reference, or does it need to be accurate?
-
Use resizing if you’re simply working with a background photo, concept art, or mood board image. Accuracy doesn’t matter — just fit it visually.
-
Use scaling if you’re working with architectural plans, technical drawings, or anything that requires precision. For example, if your floor plan shows a door labeled as 36 inches wide, you’ll want SketchUp to recognize that exact measurement.
Knowing the difference saves time and ensures you apply the right method.
2. Basic Tools for Resizing in SketchUp
Now that we’ve clarified the concepts, let’s dive into the tools that make resizing possible. SketchUp offers several methods, but the Scale Tool and Tape Measure Tool are the most important.
2.1 Using the Scale Tool
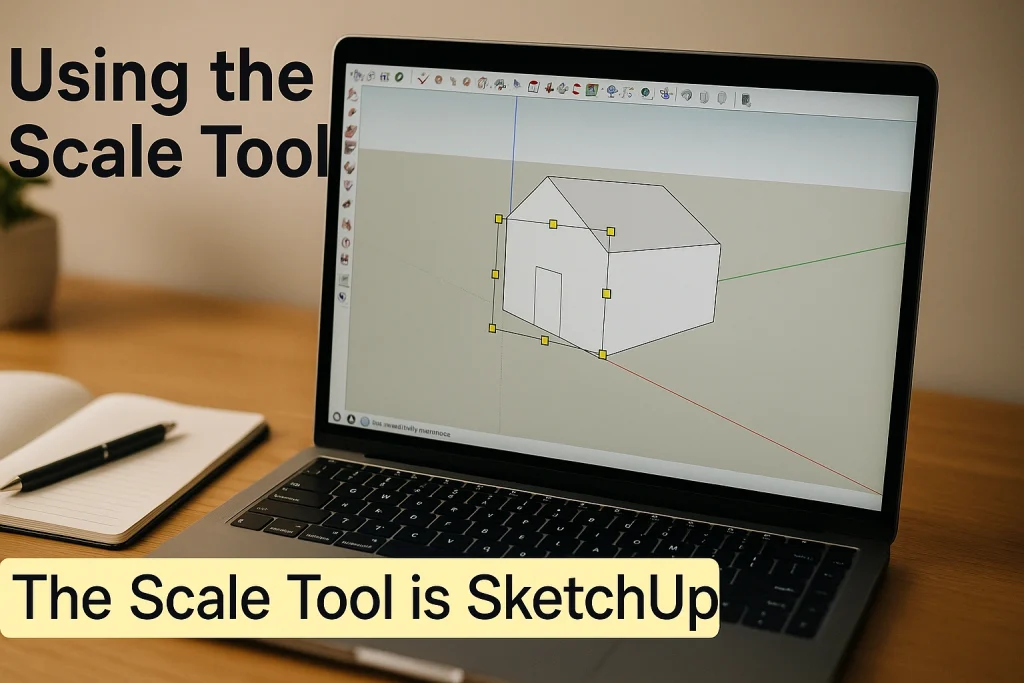
The Scale Tool is SketchUp’s most straightforward resizing tool. Here’s how it works:
- Select the image you imported.
- Press S on your keyboard (shortcut for Scale).
- Grips appear around the image.
- Drag one of the grips outward to enlarge or inward to shrink.
👉 Pro Tip: To maintain the original proportions (so the image doesn’t stretch awkwardly), hold Shift while dragging. If you want more precise resizing, you can also type a scale factor (e.g., typing 2 doubles the size.
This method is quick and effective when accuracy isn’t critical, such as adjusting a reference photo for visibility. However, it doesn’t guarantee real-world scaling unless you already know the exact proportions.
2.2 Using the Tape Measure Tool
The Tape Measure Tool is the go-to method for anyone asking how to resize an image on SketchUp with accuracy. It allows you to set a true-to-scale dimension directly within the model.
Steps to resize with a Tape Measure:
- Import your image into SketchUp.
- Find a line or element in the image where you know the real-world measurement (e.g., a wall labelled 10 feet).
- Select the Tape Measure Tool (shortcut: T).
- Click the first endpoint of the known distance, then click the second endpoint.
- Look at the Measurements box (bottom-right corner). Type the actual distance (e.g.,
10'). - Hit Enter. SketchUp will ask, “Do you want to resize the model?” Click Yes.
Your image (and anything grouped with it) now matches true-world scale.
👉 Common mistake: If you don’t get the resize prompt, it usually means the image isn’t inside a group. Right-click → Explode, then regroup the image before trying again.
2.3 Preserving Aspect Ratio
Resizing often risks stretching an image. That’s where aspect ratio preservation comes in.
-
Hold Shift when dragging grips with the Scale Tool.
-
Use corner grips, not side grips, for proportional resizing.
-
For Tape Measure scaling, the ratio is automatically preserved, since SketchUp adjusts the whole object uniformly.
Maintaining aspect ratio is critical when working with floor plans, logos, or reference photos, since even slight distortion can throw off dimensions.
3. Advanced Image Scaling in SketchUp (Preview of Next Section)
Now that you’ve mastered the basics, we’ll move on to advanced techniques: scaling floor plans, working with Match Photo, and adding a scale bar for extra accuracy. These are especially useful for architects and designers who rely on precise drawings.
4. Advanced Image Scaling in SketchUp
Sometimes the Scale Tool and Tape Measure Tool aren’t enough. When you need to bring technical drawings, floor plans, or perspective photos into SketchUp, advanced scaling methods help you achieve professional-level accuracy.
4.1 Resizing Floor Plans & Blueprints
One of the most common tasks is resizing floor plans imported as JPG or PNG images. If you’re modelling a house or office, accuracy is critical. Here’s how to do it right:
- Import the floor plan as an Image (not a texture).
- Right-click the image and select Explode so SketchUp treats it as editable geometry.
- Immediately regroup it (right-click → Make Group). This keeps it isolated from the rest of your model.
- Use the Tape Measure Tool to measure a known distance in the plan (e.g., a 12-foot wall).
- Type the actual dimension and confirm the resize prompt.
👉 Pro Tip: If the plan is skewed or scanned at an angle, scale in one axis first, then in the other. This “two-step calibration” prevents distortion.
4.2 Working with Match Photo
SketchUp’s Match Photo feature allows you to align a model with a photograph. While it’s often used for modelling directly from photos, it also provides scaling opportunities.
-
Import the photo using File → Import → Match New Photo.
-
Place red and green axis bars along known edges in the image (such as walls or roads).
-
SketchUp creates a perspective grid that matches the photo.
-
Build geometry on top of this setup, then use the Tape Measure Tool to finalize dimensions.
👉 Match Photo isn’t always pixel-perfect, but it’s a powerful way to scale reference photos to usable dimensions.
4.3 Adding a Scale Bar for Precision
Another professional trick is creating a scale bar within your model:
- Draw a line in SketchUp equal to a known unit (e.g., 1 meter or 10 feet).
- Place it near the imported image.
- Use the Scale or Tape Measure tool to adjust the image until a feature matches the scale bar.
This is especially handy when working with images lacking clear labeled dimensions, like old drawings or site photos.
5. Resizing in SketchUp Layout
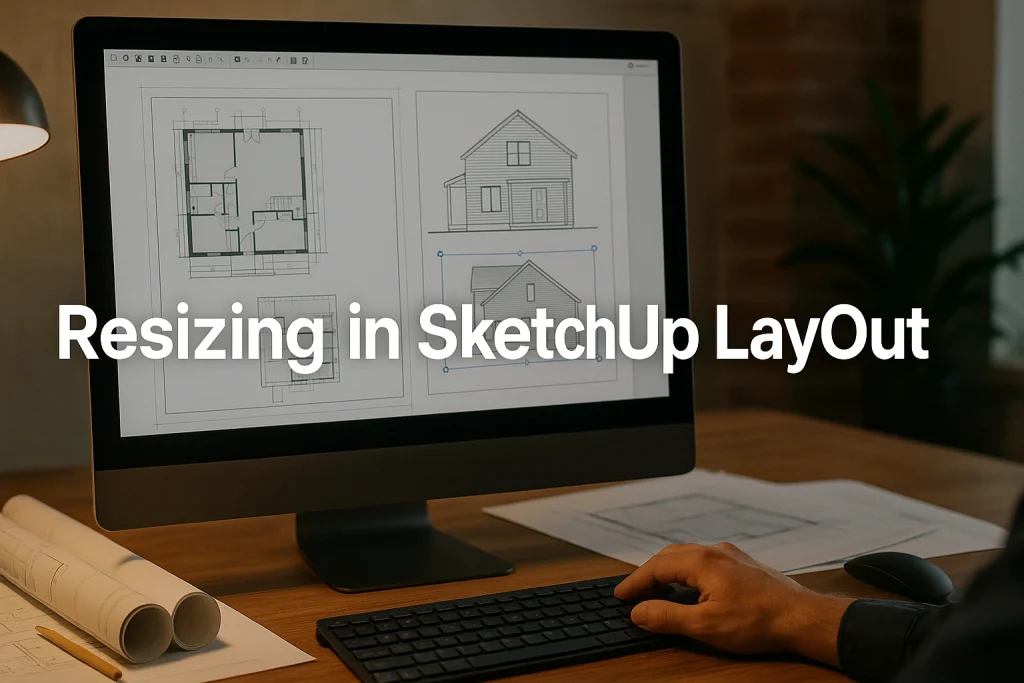
While SketchUp handles modelling, LayOut is SketchUp’s presentation tool. Many users import images into LayOut for documentation, and resizing works differently here.
5.1 Importing Images in LayOut
To bring an image into LayOut:
- Go to File → Insert.
- Select the image and click on the page to place it.
- A bounding box will appear, allowing you to resize freely.
👉 Unlike SketchUp, resizing in LayOut is mostly visual unless you’re using dimensions or scale references.
5.2 Using Preserve Scale on Resize
LayOut offers a useful checkbox called Preserve Scale on Resize. This ensures that when you stretch the bounding box, the image maintains its proportions.
-
To enable: Right-click the image → choose Preserve Scale on Resize.
-
Hold Shift while dragging to keep the aspect ratio locked.
This is especially useful when inserting scaled floor plans or elevation images into construction documents.
5.3 Fitting Images to Page
Sometimes you just want an image to fill a page layout. In that case:
-
Select the image bounding box.
-
Drag to fit the page margins.
-
If the proportions don’t fit perfectly, duplicate the image and crop it into segments for a cleaner presentation.
👉 Pro Tip: For professional documents, avoid stretching images in LayOut. Instead, set exact dimensions via the Shape Style panel for precise alignment.
6. Troubleshooting Common Problems
Even experienced users face issues when resizing images in SketchUp. Let’s solve the most common ones.
6.1 No Scale Prompt with Tape Measure
You followed the Tape Measure steps, but SketchUp didn’t ask if you wanted to resize. Why?
-
The image isn’t inside a group. Fix: Right-click → Explode, then Make Group.
-
You’re measuring in the wrong context. Double-click into the group before measuring.
-
You clicked a point that isn’t a valid edge. Always use clean endpoints.
👉 Once grouped correctly, the prompt will appear.
6.2 Image Distortion After Scaling
Sometimes resizing makes your image look stretched or squashed. This happens when:
-
You dragged a side grip instead of a corner grip with the Scale Tool.
-
You didn’t hold Shift while scaling.
-
You scaled in one axis only.
Fix: Undo, then resize again while locking proportions.
6.3 Fixing Group/Explode Issues
Imported images often act unpredictably because of grouping.
-
If scaling affects the whole model, the image isn’t grouped.
-
If scaling won’t apply at all, the image may be stuck as a component. Explode it, then regroup.
-
If distortion persists, re-import the image and try again.
👉 A clean workflow is: Import → Explode → Group → Resize. This avoids 90% of scaling errors.
7. Pro Tips for Accuracy & Workflow Efficiency
Mastering the basics of resizing images in SketchUp is important, but refining your workflow with professional tricks saves time and prevents costly mistakes. Below are proven strategies that experienced modellers use every day.
7.1 Start with High-Resolution Images
Scaling only works well if the original image has enough detail. A low-resolution scan of a floor plan may look blurry or pixelated once enlarged. Always request the highest-quality file available, ideally in TIFF or high-resolution PNG format. This ensures that linework stays crisp when zooming or scaling.
7.2 Always Work in Groups or Components
Never leave your imported image floating in the model space. Group it immediately after importing. This prevents accidental scaling of the entire model and allows you to isolate resizing actions. If you’re working with multiple reference images, assign them to separate groups for easy control.
7.3 Use the Largest Known Dimension
When scaling with the Tape Measure Tool, always choose the longest known measurement in your image. For example, scale based on the total length of a wall rather than a small window opening. Why? Larger dimensions reduce the impact of small errors in clicking, giving you more accurate scaling across the whole image.
7.4 Double-Check with Secondary Dimensions
After resizing, measure another known dimension in the image. If it matches your expectations, the scaling was successful. If not, adjust again. This “cross-checking” habit ensures you don’t proceed with a distorted base image.
7.5 Use Scenes for Reference Images
If you’re working with multiple images, set up Scenes in SketchUp. This way, each view can display a different reference image, and you won’t confuse them while modelling. Scenes save camera angles, layer visibility, and styles, making it easy to switch contexts.
7.6 Lock Images Once Resized
Once an image is properly scaled, lock it. Right-click → Lock. This prevents accidental edits while you continue building your model. Many users forget this step and later drag or distort the image without realising, causing frustration.
7.7 Combine Scale Bar and Tape Measure
For maximum accuracy, use a scale bar in addition to the Tape Measure method. The scale bar serves as a quick visual reference, while the Tape Measure ensures mathematical precision. This combination is beneficial in architectural projects where multiple drawings must align.
8. Conclusion
Learning how to resize images on SketchUp is one of those foundational skills that transforms how you use the software. At first, resizing may feel confusing — is it scaling, stretching, or calibrating? But once you understand the difference between simple resizing with the Scale Tool and true-to-size scaling with the Tape Measure Tool, everything clicks into place.
Here are the key takeaways:
-
Import images as Images, not Textures, unless you’re applying materials.
-
Use the Scale Tool for quick visual resizing, but lock proportions with Shift.
-
Use the Tape Measure Tool for accurate, real-world scaling based on known dimensions.
-
In LayOut, use the Preserve Scale on Resize option to maintain proportions.
-
Solve problems by grouping, locking, and re-importing images when necessary.
With these techniques, you’ll avoid distortions, maintain accuracy, and build models that align perfectly with real-world dimensions.
Resizing images is not just a beginner trick; it’s a professional workflow skill. Whether you’re modelling from a floor plan, working with a photograph, or preparing documents in LayOut, mastering this process ensures precision and saves hours of rework.
For further learning, check out these authoritative resources:
-
SketchUp Help Centre — Official tutorials and step-by-step guides.
-
SketchUp Community Forums — Real user discussions, troubleshooting, and advanced tips.
- Read More: