
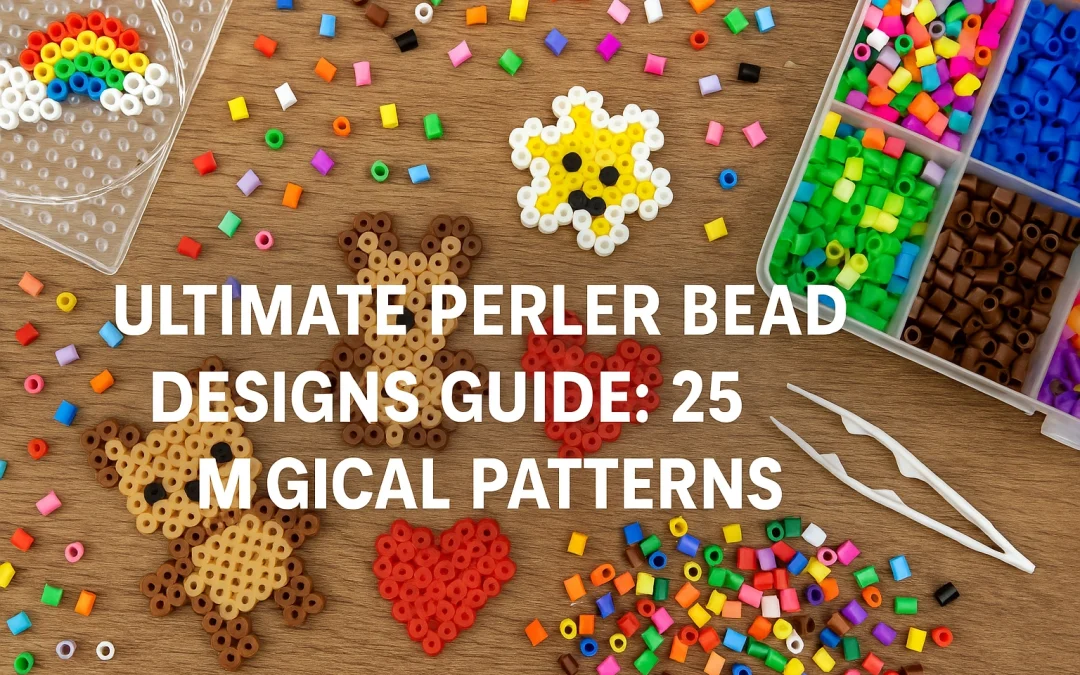
Introduction to Disney Perler Bead Designs
Disney Perler Bead Designs have become one of the most delightful ways to combine creativity, nostalgia, and hands-on crafting into a single magical experience. For decades, Perler beads—tiny fusible beads arranged on pegboards and melted with gentle heat—have been a favorite among crafters, kids, and DIY enthusiasts. When those same vibrant beads are used to recreate Disney’s timeless characters, the result is a craft that’s both charmingly nostalgic and endlessly customizable Disney perler bead designs.
The growing popularity of Disney Perler Bead Designs can be traced to several factors. First, they bridge generations—parents and children alike recognize characters such as Mickey Mouse, Elsa, or Buzz Lightyear. This shared familiarity turns crafting into a bonding activity rather than a solo hobby. Second, the accessibility of materials makes it easy for anyone to start. A small set of beads, a pegboard, and a household iron are all you need to transform pixels into art. Finally, the creative potential is boundless. From simple keychains and magnets to large mural displays featuring entire disney perler bead designs scenes, Perler beads give crafters the power to re-imagine the magic of Disney in physical form.
In recent years, platforms like Pinterest, Etsy, and Instagram have helped elevate these crafts from a weekend pastime to an online trend. Thousands of makers now share free downloadable Disney Perler Bead Designs, tutorials, and time-lapse videos, inspiring others to join the fun. The rise of fan-made designs has even encouraged new forms of creativity—mixing characters, experimenting with gradient colors, or turning bead art into functional décor like coasters, bookmarks, and ornaments.
This Ultimate disney perler bead designs Guide explores the full creative journey. You’ll discover beginner-friendly supply lists, free pattern downloads, step-by-step project tutorials, advanced mural ideas, and even practical tips on safe crafting, copyright considerations, and where to find official Disney bead kits. Whether you’re crafting for fun, gifting handmade Disney art, or planning to display your creations at a fair or shop, this guide will equip you with the techniques and inspiration to bring your favorite Disney worlds to life—one bead at a time.
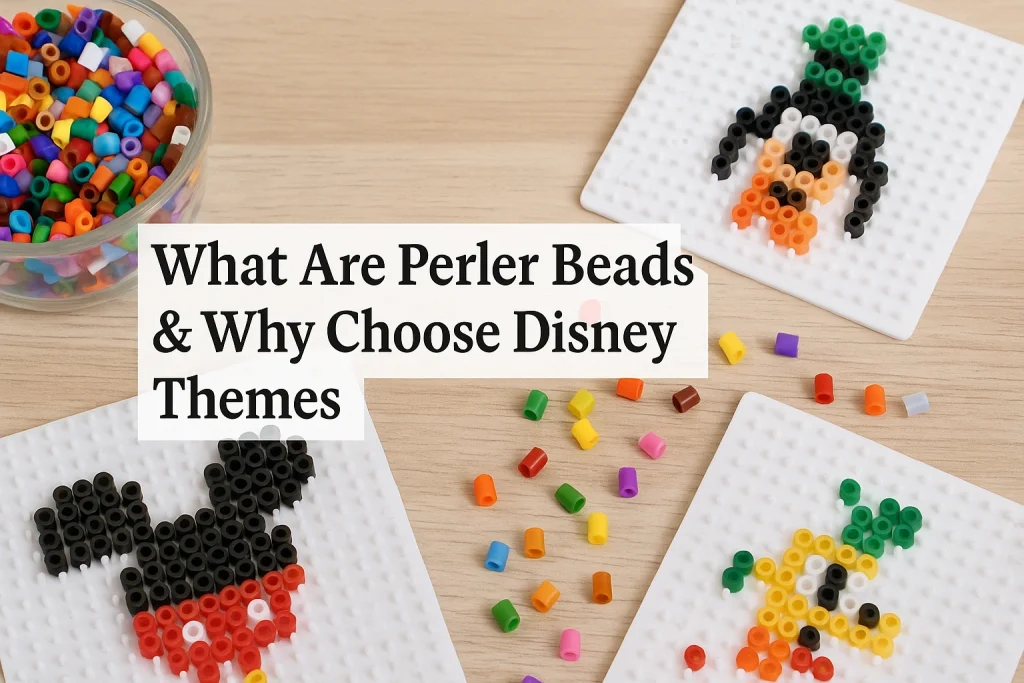
2. What Are Perler Beads & Why Choose Disney Themes
2.1 Perler beads, fuse beads & melty beads: the craft basics
Perler beads also known as fuse beads or melty beads are tiny cylindrical plastic beads that you place one-by-one onto a pegboard grid, then use heat via an iron with ironing paper to fuse the beads together into a solid pixel-style piece. They’re beloved in the crafting world for their simplicity, visual appeal, and capacity to create detailed designs—especially when used in a pixel art style.
2.2 Why Disney characters make perfect perler bead designs
The appeal of disney perler bead designs themes in perler bead crafts is obvious: you’re combining iconic, recognisable characters (Disney) with the fun of DIY pixel art. Because perler bead designs inherently resemble pixel graphics, and Disney characters are often rendered clearly in simple colour blocks, the two mesh perfectly. From Mickey Mouse to Elsa or Buzz Lightyear, you can find a wide spectrum of characters to match your skill level and aesthetic preferences. And as sites like Cool Kids Crafts observe, Disney perler bead patterns are plentiful and well-loved.
3. Beginner’s Supplies: What You’ll Need to Get Started
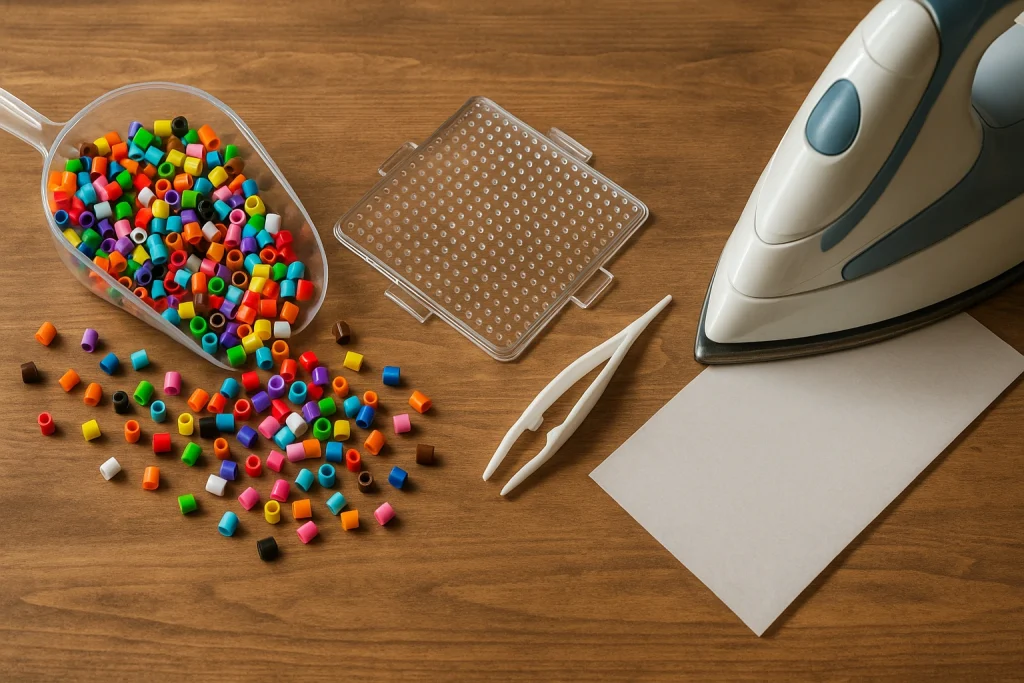
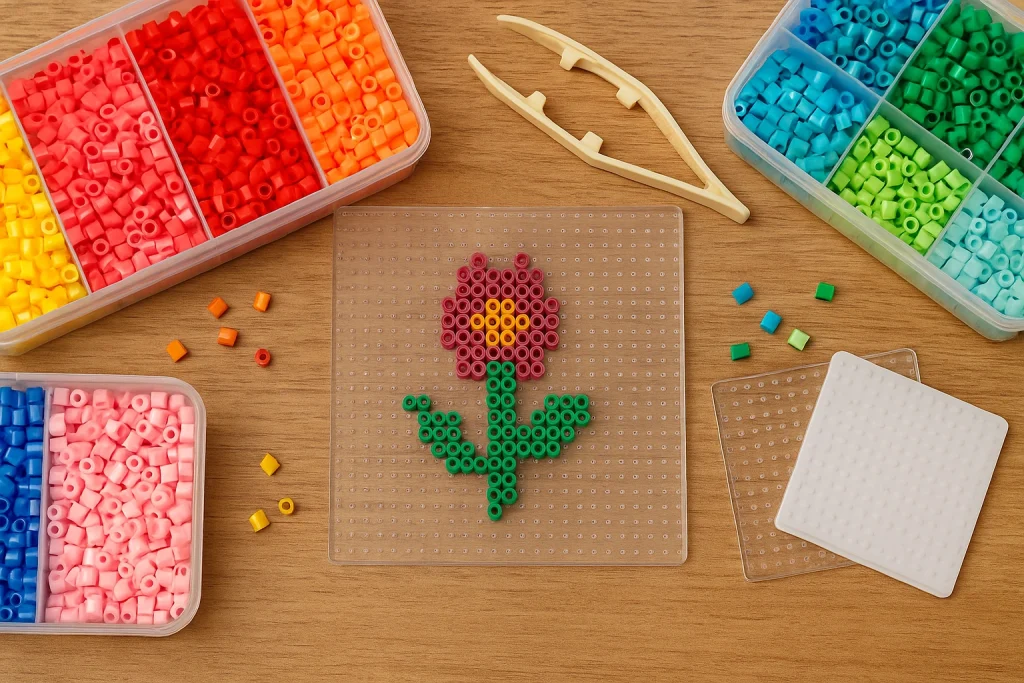
3.1 Pegboards, bead colours & ironing tools
To dive in, here’s your basic supplies checklist:
-
A clear plastic pegboard (the grid that holds your beads)
-
A selection of perler/fuse/melty beads in assorted colours
-
Ironing paper (to protect the beads and iron)
-
A household iron (adult-supervised if kids are involved)
-
Tweezers (optional, useful for small beads)
-
A flat, heat-safe work surface
Sites like Disney Insider Tips outline these materials clearly in their free-pattern posts.
Tip: Choose the pegboard size based on your design complexity (smaller boards for simple characters, larger boards for detailed murals).
3.2 Choosing the right size & design complexity
When you plan a Disney perler bead design, think about:
-
The character size (small bookmark vs full-figure vs large mural)
-
Colour palettes (how many beads will you need?)
-
Skill level (beginner, intermediate, advanced)
Smaller designs (say 10×16 bead grids) are ideal for kids or short sessions; larger murals (e.g., 49×69 or multiple boards joined) are better for experienced crafters. For example, some “Disney Princess Perler Beads” patterns noted on DIY Candy require boards larger than the standard 29×29disney perler bead designs.
4. Free Disney Perler Bead Pattern Downloads & Inspiration
4.1 Top free resources for Disney perler bead patterns
Looking to skip designing from scratch? Great! There are many sites offering free templates you can download and place directly on your pegboard. For instance:
-
Disney Insider Tips offers FREE disney perler bead designs with supplies listed.
-
KandiPatterns includes character-specific patterns (such as Belle from Beauty and the Beast) ready to print.
-
Pinterest boards also house hundreds of visual ideas for disney perler bead designs.
These free patterns can accelerate your project and help build confidence before you design your own.
4.2 10 favourite character pattern ideas you can start today
Here are ten Disney character ideas (with varying complexity) you might consider:
- Mickey Mouse bookmark (simple)
- Dumbo full-body (moderate)
- Olaf from Frozen (beginner/intermediate)
- Rapunzel with her long hair (intermediate)
- Baymax from Big Hero 6 (small figure, good for beginners)
- Elsa from Frozen (larger colour blocks, moderate)
- Woody from Toy Story (mid-complexity)
- Mirabel from Encanto (modern character, good photo reference)
- Ursula the villain (complex hair & tentacles – advanced)
- A large mural featuring the Disney castle or mixed characters (advanced)
Many of these appear in existing pattern round-ups like those at Cool Kids Crafts and Laundry To Wear.
Tip: Start with one character you love, finish that project, and then graduate to more ambitious designs.
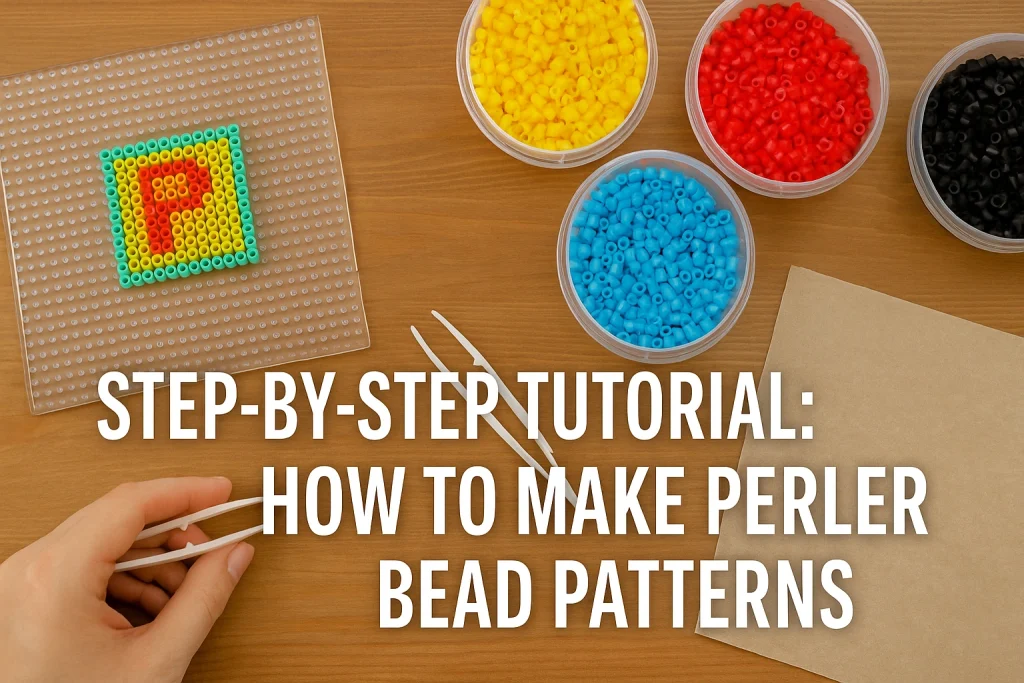
5. Step-by-Step Tutorial: How to Make Disney Perler Bead Patterns
5.1 Planning your design & selecting colours
Before you begin placing beads, follow these steps:
-
Choose your character and find a good reference image (clear, front-facing)
-
Decide on board size (e.g., 10×16, 20×30, 40×60) depending on detail
-
List out bead colour palette you need: skin tones, costume colours, hair highlights, outlines
-
Print or view the pattern on screen, and sort your beads by colour
-
Set aside time in a distraction-free space if younger children are involved
5.2 Setting up the pegboard & placing beads
-
Place the pegboard on your flat surface
-
Use tweezers or fingers to place beads according to your pattern, starting from bottom-left corner to keep track
-
For detailed characters, you might fill in large colour areas first, then place outlines or accents
-
Make sure all beads sit fully on the pegboard pegs (no wobble) — this helps with the ironing step
5.3 Ironing and finishing your design perfectly
This is the critical step. Here’s how to get reliable results:
-
Pre-heat your household iron to a medium (no steam)
-
Place ironing paper (included with many bead kits) loosely on top of your beads
-
Gently and evenly iron in a circular motion (about 10–20 seconds on each section) until beads fuse but still hold the shape
-
Let the piece cool for a minute or two before removing from board
-
For best strength, you may iron the reverse side lightly (again with paper)
-
If beads are too melted, the outline blurs; too little melt and disney perler bead designs may separate—practice helps!
5.4 Common pitfalls & how to avoid them
-
Beads sliding on pegboard: Use a non-slip mat underneath or work on a table with no vibration.
-
Uneven ironing: Make sure iron is level and apply even pressure.
-
Colour bleeding: Some very dark dyes may leech — test or place a backing of cardstock if needed.
-
Warped design: Let the fused piece cool under a heavy flat book to prevent curling.
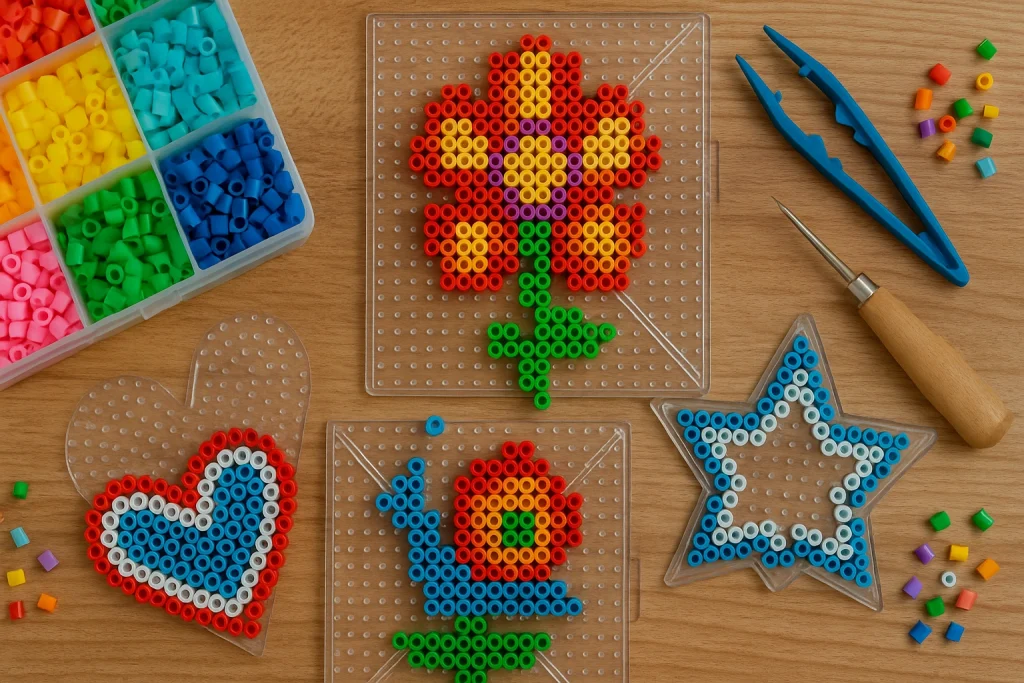
6. Project Ideas by Skill Level

6.1 Easy Disney perler bead designs (for kids & beginners)
-
Simple silhouette of Mickey Mouse (black outline + red shorts)
-
Small keychain size of Elsa’s face (less than 20×20 grid)
-
Princess Tiana’s green dress only (no background)
These projects require fewer colours and less precision — great for young children or quick sessions.
6.2 Intermediate projects: keychains, magnets & coasters
-
Disney princess full-body designs: Snow White, Ariel, Rapunzel (use ~30-40 colours, board size ~30×40)
-
Keychain designs: Combine beads + jump ring + split ring for portable craft
-
Magnet or coaster sets: Create a set of 4–6 small designs (e.g., Minnie, Donald, Goofy, Pluto) using 20×20 pegboards
These build on your skill by increasing colours, size, or functional use of the piece.
6.3 Advanced/large-scale Disney perler bead murals
-
A mural of the Disney castle at dusk with fireworks (large board or multiple boards joined)
-
A full villain ensemble: Ursula, Maleficent, Hades, Cruella (complex shapes and gradients)
-
Disney-Pixar mash-up: Toy Story + Inside Out characters in one large piece
Large pieces require: careful planning, more beads (bulk supply), patience for placement and ironing, and optionally mounting/backing for display.
7. Monetisation & Kits: Disney Perler Bead Kits, Tools & Reviews
7.1 Top kits for Disney themes
If you prefer a ready-to-go set rather than sourcing beads individually, you’ll find kits like “Perler Disney Princesses Deluxe Fused Bead Activity Kit” and others listed on Amazon These kits typically include the beads, pegboards, pattern sheets, ironing paper—and often feature popular character sets.
7.2 What to look for in a good perler bead kit
-
Includes full colour palette needed for the design (not just basic colours)
-
Has detailed pattern instructions (especially for Disney characters)
-
Comes with quality pegboards and even backing/display materials
-
Good bead quality (consistent size, no heavy dye bleed)
-
Safety and age recommendations (many kits are designed for ages 6+)
When you review kits, check customer feedback for bead/melting consistency.
7.3 Where to buy supplies in bulk
If you’re frequently doing large designs or multiple characters:
-
Buy large bead-colour sets (10,000+ pieces) from craft supply shops
-
Purchase additional pegboards (stacking or large format)
-
Secure good ironing-paper rolls and invest in a dedicated craft iron if you’ll fuse often
Bulk purchasing gives you flexibility to design unlimited Disney perler bead creations.
8. Legal & Copyright Considerations When Crafting Disney Characters
8.1 What you can and cannot do with Disney character art
Crafting Disney characters for personal use (your home, gifts) is generally fine. However, if you plan to sell items using licensed characters, you may be entering an intellectual property zone controlled by Disney. If you’re creating designs for commercial sale:
-
Consider original designs or public-domain characters
-
Avoid using trademarked logos/characters in your own brand without license
-
Use disclaimers and research local laws if selling online
8.2 Sharing your creations online safely
When you post your DIY Disney perler bead designs online (Instagram, Pinterest, Etsy previews), best practice is:
-
Use DIY, fan-art, or non-commercial use disclaimers if you’re using copyrighted characters
-
Attribute the original character to Disney, but note you are making a fan craft
-
If you create your own pattern and share it for free, clarify it’s for personal use
Many craft blogs share free patterns with such disclaimers (see Free disney perler bead designs article).
9. FAQs: Disney Perler Bead Design Questions Answered
Q1: How long does a typical Disney perler bead project take?
A: It depends on size and complexity. A small keychain (approx. 10×10 grid) might take 30-60 minutes. A full mural (40×60 grid or more) might take several hours (or multiple sessions). Planning and ironing time add additional minutes.
Q2: What size pegboard should I buy?
A: For beginners, a 29×29 square grid is common. For more complex designs, look at 49×69 or join multiple boards. Some Disney princess patterns mention boards larger than 29×29.
Q3: What bead brand should I use?
A: Many crafters use the brand Perler® (or compatible brands). Consistency matters for melting behaviour. Using the same bead brand throughout a design helps prevent uneven melting/texture.
Q4: Can you iron perler beads with kids?
A: Yes—but the ironing step must be done by an adult (due to heat). Kids can place beads, sort colours, plan the design, and do supervised ironing.
Q5: How do you display or finish a large perler bead design?
A: After ironing and cooling, you can glue to a backing board (foam board, wood, acrylic), frame it, attach magnets, or drill holes for hanging. Use clear spray sealer for added strength if needed.
10. Conclusion: Bringing the Magic Home with Disney Perler Bead Designs
By now, you’ve explored every essential aspect of disney perler bead designs—from gathering your first pegboard and bead set to mastering large-scale murals featuring your favorite Disney characters. What began as a simple hobby has the potential to evolve into a creative passion or even a small business venture. These projects don’t just recreate beloved movie moments—they transform nostalgia into tangible art that you can touch, display, or gift.
Whether you’re crafting a Mickey Mouse keychain, a Frozen-themed coaster set, or a Pixar-inspired wall mural, each design tells a story about patience, imagination, and love for Disney’s world of wonder. The process itself offers relaxation and mindfulness—carefully arranging colorful beads can feel almost meditative, providing a break from screens while improving focus and fine-motor skills. Parents often find that introducing kids to Perler bead crafts helps them learn color matching, counting, and creative problem-solving—all while having fun.
To keep your inspiration flowing, explore free disney perler bead designs downloads or challenge yourself with advanced designs like the Disney Castle or multi-character collages. You can even blend characters across universes—imagine a crossover featuring Stitch, Moana, and Simba sharing the same board! As you gain experience, experiment with textures, layered effects, and 3D structures that take your projects beyond flat designs.
If you’re interested in scaling your creativity, consider showcasing your finished pieces on Pinterest, Instagram, or craft marketplaces like Etsy. Share your patterns (with proper credit) to inspire others in the growing Perler bead community. Remember to follow fair-use and copyright guidelines when displaying Disney characters, especially if your designs are for sale.
Most importantly, continue to create for the joy of it. Every project—big or small—adds a touch of Disney magic to your home. The sparkle of finished beads, the pride in handmade art, and the smiles it brings are what make this craft so rewarding.
So, gather your supplies, choose your favorite character, and let your imagination guide you. With patience, creativity, and a sprinkle of Disney enchantment, your next masterpiece is only a pegboard away.
Happy crafting—and may your beads fuse perfectly, your colors shine brightly, and your Disney Perler Bead Designs bring joy to everyone who sees them.