
Introduction: A Beginners Furniture Design Project Case Study for Creative Growth
Designing furniture is more than a practical skill—it’s an exploration of creativity, craftsmanship, and problem-solving. This beginners furniture design project case study introduces you to the complete journey of transforming a simple concept into a functional, beautiful piece of furniture. Whether you’re a DIY enthusiast, design student, or first-time maker, this introduction sets the foundation for understanding how beginners can approach furniture design with confidence, structure, and creativity.
Furniture design as a beginner can feel overwhelming: selecting the right materials, managing tools, creating a balanced design, and ensuring the final build aligns with your vision. This case study simplifies that process. It demonstrates each stage—from conceptual sketches and material selection to assembly, finishing, and reflection—through practical, beginner-friendly examples. The aim is to bridge the gap between idea and execution, helping you gain both technical skills and design awareness.
In an era where handcrafted and sustainable designs are celebrated, learning to design your own furniture empowers you to personalize your space while developing valuable creative skills. The process not only produces a tangible result but also fosters patience, precision, and problem-solving ability—key attributes for any aspiring designer or maker. Each step of this project becomes a learning milestone, shaping your understanding of proportion, balance, joinery, and aesthetics.
Moreover, documenting your project as a case study transforms a personal experiment into a professional asset. It allows you to analyze your design process, evaluate challenges, and celebrate outcomes. Experts like Brian Benham (Benham’s Blog) emphasize that recording each phase of a build—from initial drawings to final presentation—offers deep insight into both craftsmanship and design thinking. For beginners, such documentation creates a valuable reference for improvement and helps communicate your creative process to others.
This introduction, therefore, sets the tone for an educational, hands-on experience. The sections that follow will guide you step-by-step through planning, designing, building, and presenting your first furniture design project. You’ll gain clarity on material choices, learn essential construction methods, and discover how to evaluate your finished piece—all while developing the confidence to take on more ambitious projects in the future.
2. Defining the Project: Scope, Goals & Audience

2.1 Who is this for? (Beginners, DIYers, First-time designers)
If you’ve never built a furniture piece before — or have done so only as a hobby — then this case study is tailored to you. By beginners, we refer to individuals who may not have a professional workshop, expensive tools, or years of woodworking experience. Perhaps you’re building a piece for your home, apartment, workspace, or even as a portfolio project. The good news? You don’t need top-tier equipment or huge budgets; smart planning and execution matter far more.
2.2 Setting realistic goals: Design, materials, budget, timeframe
For a successful beginner project, clarity of goals is critical. Let’s break down what you should define at the outset:
-
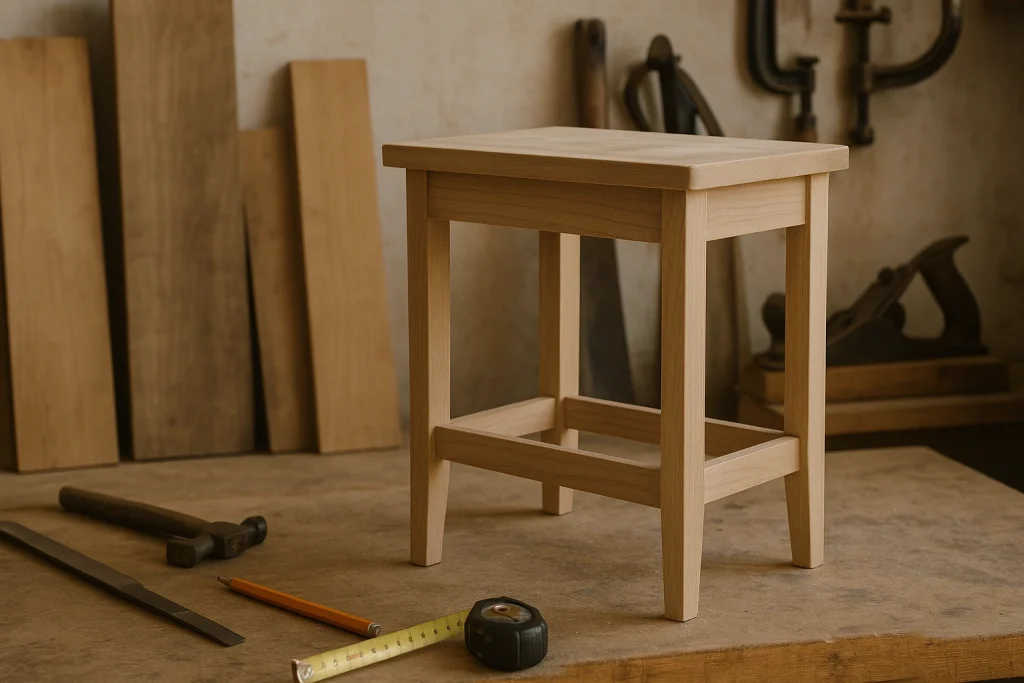
Design scope – What type of furniture piece will you design? A side table, a shelf, a lounge chair, or perhaps a compact storage bench? Choose something manageable.
-
Materials & finish – Are you working with pine or plywood (easier) or hardwood (more challenging)? What finish do you intend? Paint, stain, or natural oil?
-
Budget – Even a beginner project has cost components (wood, fasteners, tools rental, finishing materials). One resource suggests a tight budget can still work when you choose cost-effective materials.
-
Timeframe – Having a clear timeline keeps momentum. For example: Plan for four weekends of build time plus one weekend for finishing.
-
Audience/user – Who will use the piece? Yourself, a friend, a client? Understanding the user influences scale, ergonomics, and style.
By articulating these aspects from the start, your project becomes more than just creative—it becomes structured and achievable.
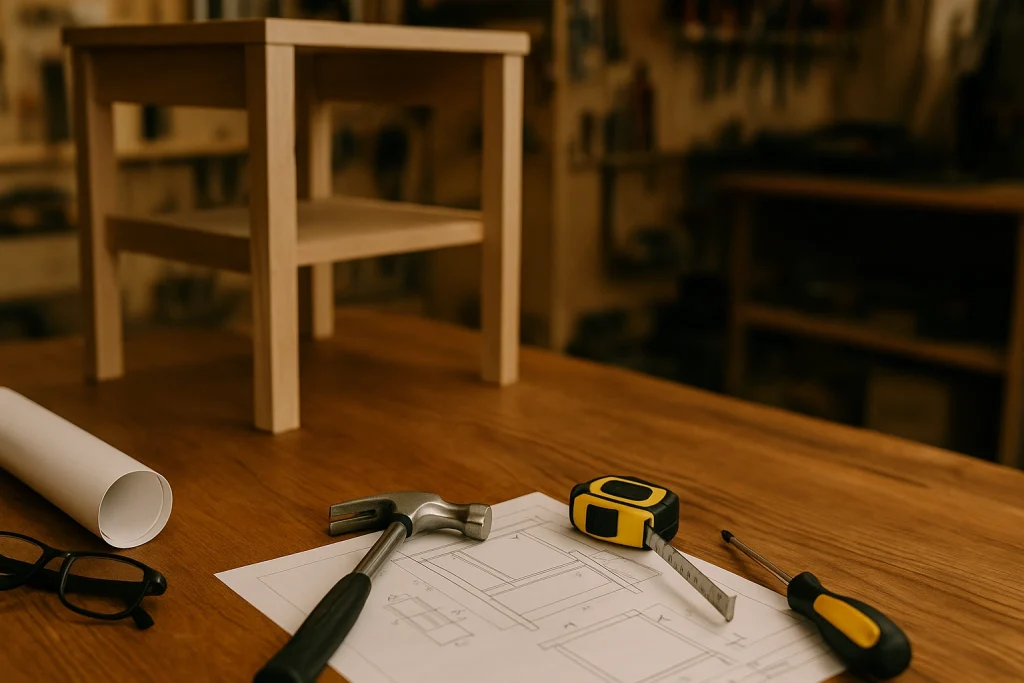
3. Planning Phase: Sketching, Tools & Materials
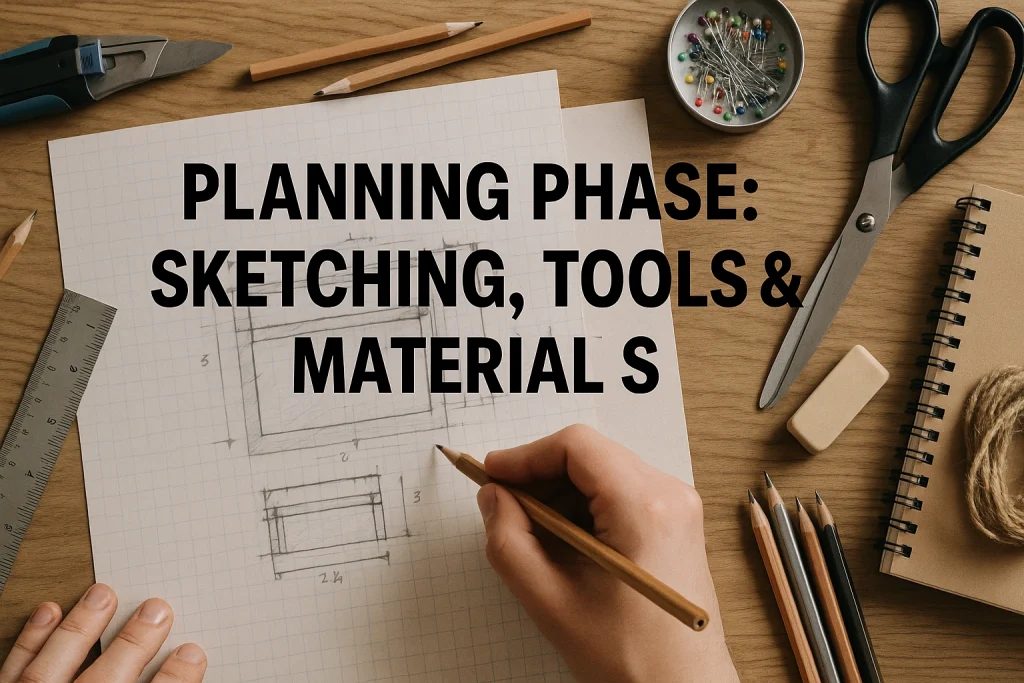
3.1 Sketching your concept and mood-boarding
Planning begins with ideas. As a beginner, you’ll benefit from simple sketches (no need for full CAD or professional drawing). A sketch helps visualize dimensions, proportions and overall aesthetic. Many guides recommend starting by simply drawing your piece on paper, playing with shapes and functions.
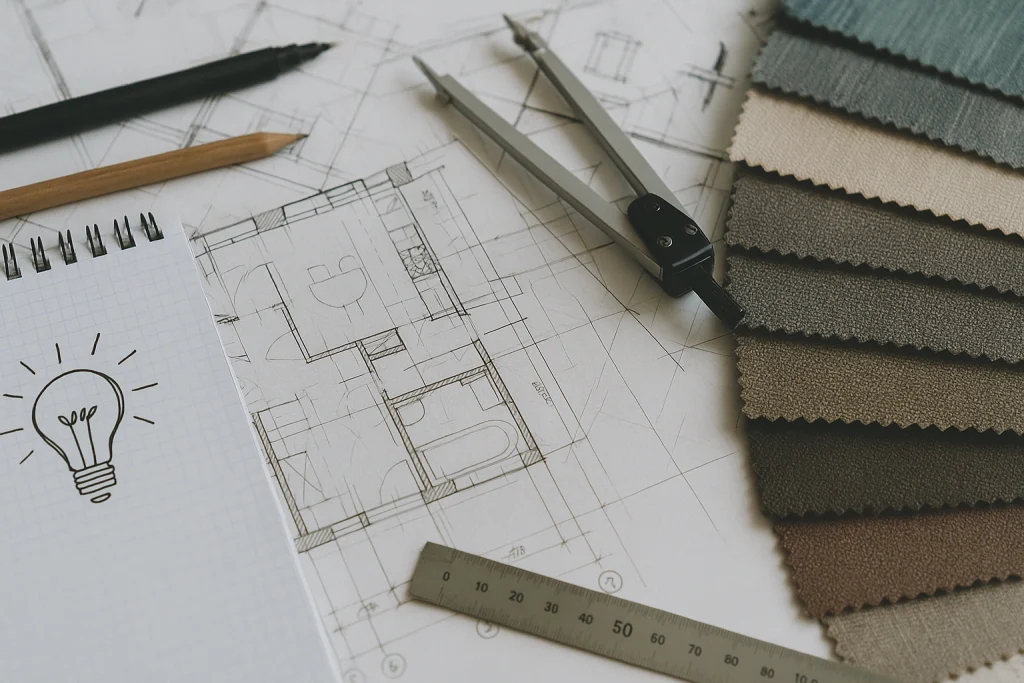
You may wish to complement your sketch with a mood board: collect images of material textures, finishes, colour palettes and hardware details. This helps align your design intention and provides visual direction.
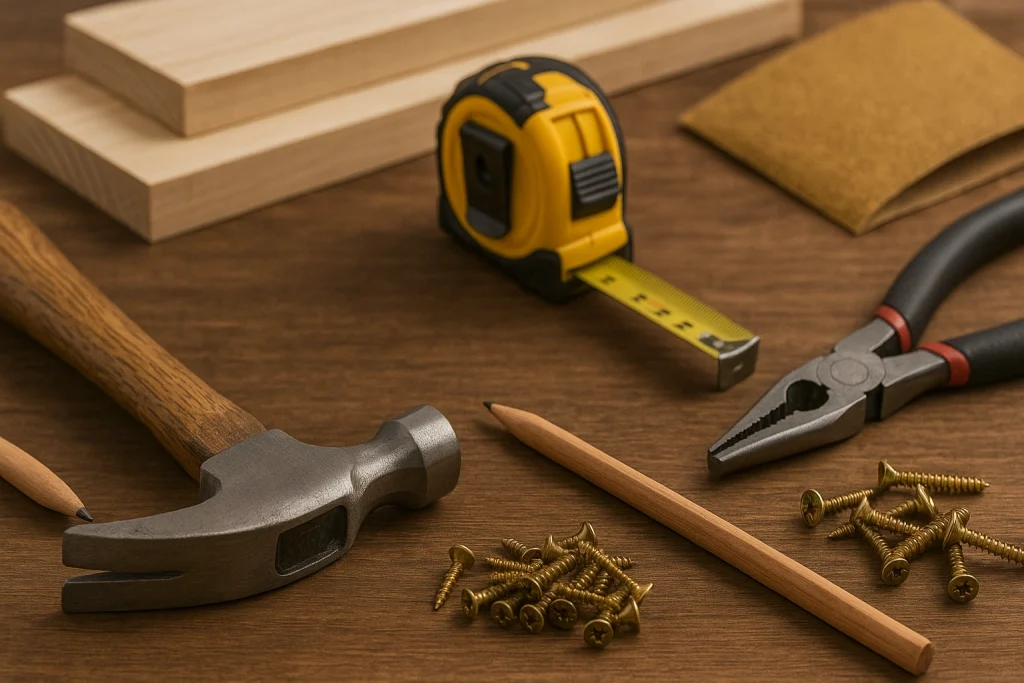
3.2 Selecting beginner-friendly tools and materials
For a beginner-friendly furniture design project, the right selection of tools and materials can make a huge difference. Consider the following:
-
Materials: Pine boards, plywood sheets, MDF for certain elements. These are more affordable and easier to work with than exotic hardwoods.
-
Joinery & fasteners: Choose simple joinery techniques (pocket screws, butt joints with reinforcement) rather than advanced dovetails.
-
Tools: A basic cordless drill, circular saw (or even a handsaw if necessary), clamps, sandpaper, measuring tape, square. These are sufficient for many beginner builds.
-
Finishing supplies: Sanding supplies (various grits), paint or stain, protective sealer or varnish.
Spend some time upfront to list out exactly what you need, what you already have, and any items you need to borrow or rent.
3.3 Budgeting and time-management tips
Because you’re a beginner, managing your budget and time realistically will prevent frustrations. Here are practical tips:
-
Simplify geometry: Keep shapes simple — straight boards, right angles. The less complex the design, the fewer mistakes.
-
Plan your cuts: Before you start, sketch how far you’ll cut from your board sizes. Avoid waste.
-
Set build chunks: Break the process into phases — cutting/processing, assembly/back-structure, sanding finishing.
-
Allow buffer time: As a beginner you may take longer; plan for it. Under-estimating time is a common beginner mistake.
Documenting your budget and time also lays the groundwork for the case study portion of this article — you’ll later reflect on how you did.
4. Design Process & Execution: Step by Step
4.1 Concept to final design: flow and milestones
Here’s a typical beginner-friendly workflow for your furniture design project:
- Concept sketch & mood board (already done)
- Final drawing with dimensions (plan front, side, top-view)
- Material list & cut-list (dimensions, quantity)
- Procurement of materials & tools
- Cutting & shaping (cut boards, sand edges)
- Dry fit (assemble without glue/fasteners, check alignment)
- Final assembly (joinery, screws/glue, clamps)
- Sanding & preparation for finishing
- Finishing (paint, stain, varnish)
- Final inspection & documentation (photographs, measurements)
Each of these milestones is important for a well-documented case study and helps you stay on track.
4.2 Joinery and build techniques suited for beginners
For a beginner, it’s vital to choose techniques that are forgiving yet effective:
-
Use pocket screws or confirmat screws rather than complex joinery.
-
Reinforce butt joints with corner blocks or dowels if desired.
-
Use pre-finished plywood or boards to minimise finishing work.
-
Maintain accurate measurements—small errors amplify downstream.
-
Always clamp while glue sets to keep things square and aligned.
The idea is to focus on getting a strong, straight, functional piece rather than a show-piece of complex craftsmanship.
4.3 Finishing touches: sanding, stain/paint, protective coatings
Once your build is complete, the finishing stage gives the piece polish and durability:
-
Sand progressively: start with ~80-100 grit, then ~150-180, then ~220 for a smooth surface.
-
Choose a finish consistent with your design intention: natural stain for wood-grain aesthetics; matte paint for a modern finish.
-
Apply protective coating (varnish or polyurethane) to ensure longevity—especially important if the piece gets regular use.
-
Consider hardware details: handles, hinges,/floor pads can elevate the piece.
In your case study documentation, it’s helpful to include before-and-after photos and mention the finishing choices you made (and why).
5. The Case Study Reveal: What Happened, What Worked & What Didn’t

5.1 Before & after: sharing results and visuals
In this key section of the article, you’d present the actual outcome of the project. For example:
-
Initial sketch photo or illustration
-
Raw materials laid out
-
Mid-build photo (assembly in progress)
-
Final installed piece photo
By annotating each photo with what changed, what the milestone was, and what you learned, you turn your narrative into a true case study. Resources emphasise that a well-structured design case study helps you articulate your process, decisions, and results.
5.2 Challenges faced (and how to overcome them)
No beginner project goes flawlessly. Documenting challenges makes your case study credible and useful for others. Typical beginner challenges include:
-
Mis-cuts or boards out of square
-
Uneven sanding or surface blemishes
-
Finish drips or poor adhesion
-
Incorrect sizing or fit after assembly
For each challenge, explain how you caught it (or didn’t), what you did to resolve it, and what you’d do differently next time. This is vital learning for you and readers.
5.3 Key take-aways’ for your own beginner furniture design project
Drawing from the case study, summarise important lessons. For example:
-
The value of precise measurement and a cut-list
-
The importance of a dry-fit before final assembly
-
Why finishing matters and how it affects perceived quality
-
The benefit of documenting every step (makes future builds easier)
-
Accepting that your first build might not be perfect—and that’s okay
These take-aways support the larger goal: enabling beginners to feel confident launching their own furniture design project.
6. Lessons Learned & Practical Tips for Future Beginners

6.1 Mistakes to avoid in your first furniture design project
Some common pitfalls:
-
Diving into a too ambitious design (complex curves, exotic joinery)
-
Using expensive or hard-to-machine materials without experience
-
Skipping dry-fit and discovering misalignment too late
-
Rushing finishing and compromising appearance or durability
-
Failing to document process and therefore losing opportunity for future reflection
By calling out these mistakes, you help readers avoid them and strengthen the educational value of your article.
6.2 How to scale up from your first build
Once you’ve completed a small beginner build, the next step is growth:
-
Try more complex joinery (mortise & tenon, dovetail)
-
Use hardwoods or more premium materials
-
Integrate design features (hidden compartments, multifunctional elements)
-
Build for others (friends, clients) as a portfolio piece
-
Document each build as a case study to build your credibility
This ties back to your main keyword and shows the progression path.
6.3 Community, feedback & next-steps
Beginner designers benefit from community input:
-
Join online forums or social groups (e.g., woodworking forums, furniture design groups)
-
Share your builds and ask for feedback
-
Consider documenting your project publicly (blog, social media) to build your portfolio
-
Experiment with different styles (modern, industrial, minimalist) and materials
The case-study mindset helps you reflect, improve and share your journey rather than just finishing a piece quietly.
7. Supporting Guide: Tools, Materials & Finishing for Beginners
7.1 Recommended tools list
Here’s a minimal toolkit for beginner furniture design:
-
Tape measure, combination square, pencil
-
Cordless drill with bits, driver bits
-
Circular saw or handsaw (for straight cuts)
-
Clamps (2-4 large and several small)
-
Sanders (random orbital or sanding block)
-
Sandpaper (80, 150, 220 grit)
-
Safety gear (glasses, hearing protection)
-
Finishing supplies (paint/ stain, sealer, brushes/foam)
7.2 Material choices for budget-friendly builds
Beginner-friendly materials include:
-
Pine boards (readily available, easy to work)
-
Birch or poplar plywood (for flat surfaces)
-
MDF (for painted surfaces)
-
Standard screws, wood glue, corner reinforcement hardware
Avoid exotic woods or complex hardware until you’re more comfortable. As one DIY guide states, simple plans with affordable materials are perfect for beginners.
7.3 Finishing techniques for durability and style
-
Sand progressively (see same section above)
-
If using stain: apply a wood conditioner first for softer woods
-
If painting: apply primer, light sand, then top coat
-
Apply protective coating: polyurethane (clear) or varnish to protect from wear
-
Hardware and details matter—choose quality handles/hinges and align them precisely
These finishing touches improve both appearance and lifespan of your build.
8. Conclusion: Turning Your Beginners Furniture Design Project Case Study into Real-World Success
Reaching the end of this beginners furniture design project case study means you now have a clear understanding of how to transform an idea into a finished, functional piece of furniture. From the initial sketch to material selection, assembly, and final finishing, each step has shown that the design process is as much about learning as it is about creating. What began as an exploration of design principles has now evolved into a foundation for hands-on creativity and self-expression.
Your next move should be guided by both reflection and action. Start by revisiting the lessons you’ve learned in this case study — take note of the tools, materials, and techniques that worked best for you. Document your experience thoroughly: capture photographs, note challenges, describe your design decisions, and analyze your final outcome. This reflection will not only sharpen your design thinking but also serve as the backbone of your future projects or design portfolio.
If this is your first project, remember that mastery in furniture design comes with repetition and curiosity. Don’t aim for perfection on the first attempt; focus instead on building consistency and confidence. Each project you complete—no matter how simple—teaches you something new about proportion, functionality, ergonomics, and craftsmanship. Over time, these small lessons evolve into an intuitive understanding of design.
Consider your completed case study as both a learning document and a launchpad. You can share it with design communities, post it as part of your creative portfolio, or use it as a submission in academic or professional settings. The act of sharing your process builds credibility and opens doors for collaboration, mentorship, and feedback from fellow designers and makers. Platforms like Pinterest, Behance, and design forums can amplify your visibility and connect you with a global audience of creators.
As you plan your next furniture design project, challenge yourself to experiment further—try new materials, explore sustainable design approaches, or integrate innovative joinery techniques. Move from basic rectangular forms to more dynamic, ergonomic designs. Introduce colour theory, balance, and proportion as deliberate design tools rather than afterthoughts. Each new build refines your creative identity and strengthens your craftsmanship.
Finally, remember that every professional designer started as a beginner who dared to make their first sketch and cut their first board. This beginners furniture design project case study is not the conclusion of your learning—it’s the start of a long and rewarding journey in design. Stay curious, keep experimenting, and most importantly, continue documenting your process. In doing so, you’ll not only improve your skills but also inspire others who are just beginning their creative path.
So, pick up your tools, visualize your next project, and take that first confident step forward. Design boldly, build thoughtfully, and let every piece you create tell the story of your growth as a designer.
9. FAQ – Common Beginner Questions

Q: What is an exceptional beginner furniture design project?
A: One that is manageable in size, uses simple geometry, and allows you to learn the full process: planning, material prep, assembly and finishing. For example: a side table, a small shelf, or a storage bench.
Q: How much should I budget for my first furniture design build?
A: It depends on materials and finish, but many beginner builds can be completed for under $150–$300 (or equivalent local currency) if you choose cost-effective materials and simple tools. One case study cited a $100 budget for a beginner build.
Q: Do I need professional equipment to start?
A: No. Basic tools (drill, hand saw or circular saw, sandpaper, clamps) are sufficient for many beginner builds. It’s more about good planning and execution than expensive gear.
Q: What joinery techniques are easiest for beginners?
A: Butt joints reinforced with screws/blocks, pocket screws, and dowel joints are good beginner options. More advanced techniques (dovetails, mortise & tenon) can come later.
Q: How do I document my own case study for a furniture project?
A: Take photographs at each milestone (sketching, materials laid out, assembly in progress, final piece). Write notes on what you did, why you made certain decisions, what issues you faced and how you resolved them. Reflect on your results and lessons learned. Many design case-study guides recommend this approach to highlight your process and build credibility.
10. External Reference & Further Learning

-
For guidance on how to write a compelling case study (even for furniture/interior design) see this article: “How to Make a Case Study for Interior Design: Steps to Showcase Your Creative Process”. jennifermehditash.com
-
For a list of beginner furniture plans and project ideas, consult this guide: “Beginner Furniture Plans – Step-by-Step Beginner Furniture Plans for DIY Enthusiasts”. Woodworking HQ.
- Read More